一:步骤
1,创建库工程,添加源文件到Classess文件夹
2,上传项目到github,并且打好标签
3,配置并上传框架的 PodSpec文件,并使用trunk的方式上传
4,更新本地pod 第三方框架信息数据源(pod setup, 这一步其实也是可是省略的,因为上述的上传,直接更新了本地索引库)
二:具体创建
1,创建库工程,省略(创建工程,实现功能)
2,上传到github上,在命令行中,cd 到工程目录下

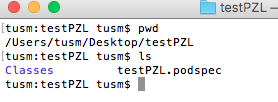
步骤:
- a,     初始化 git init
 - b,    git add .
- c,    git commit -m "提交"
- d,    git remote add origin https://github.com/pangzhanli/testPZL.git
- e,    git push origin master
- f,   git tag '0.0.1'
- g,    git push --tags
3, 创建 ***.podspec 文件
执行命令 pod spec create testPZL ,就会自动生成podspec文件,将文件内容修改为如下:
1 | Pod::Spec.new do |s| |
4, 注册trunk , 命令: pod trunk register pangzhanli2009@163.com ‘pzl’ –verbose
注册之后,会给邮箱发送一封邮件(也有可能在垃圾邮件中), 点击 邮件中的url连接,验证通过.
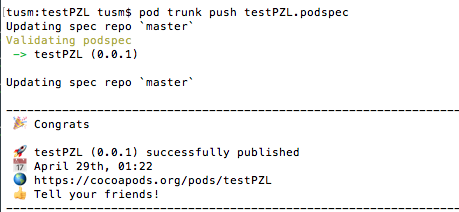
5, 通过trunk推送podspec文件到远程索引库, 使用命令: pod trunk push testPZL.podspec,
推送成功之后,如图:
6, 等待审核,需要作者同意才可以。
7, 更新本地pod第三方框架信息数据源 pod setup
8, 测试是否成功, pod search testPZL